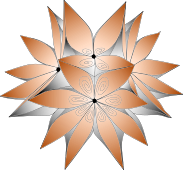
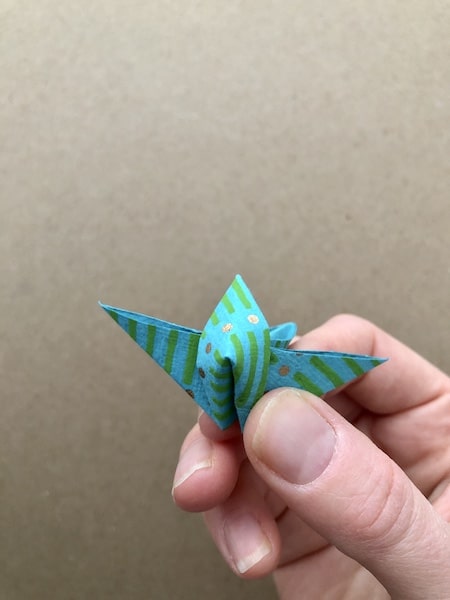
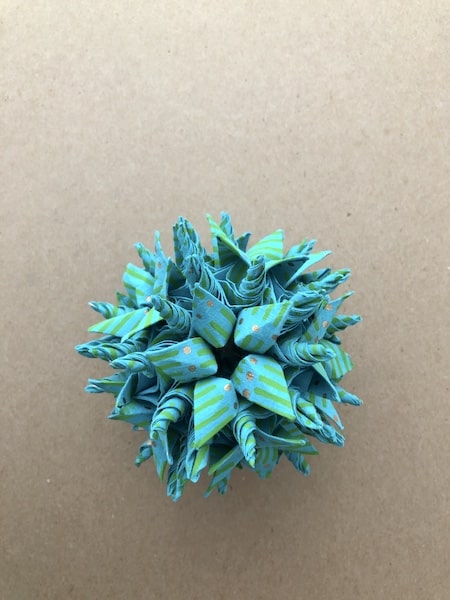
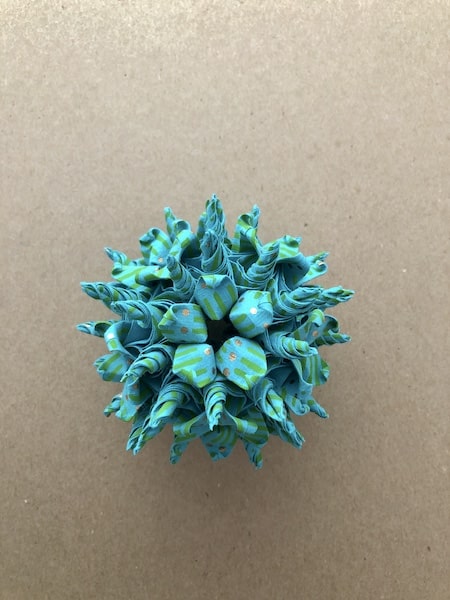
Il se fait à partir de soixante feuilles de papier en forme de losange et il me rappelle un peu la Méduse :)
Trucs et astuces d’experts
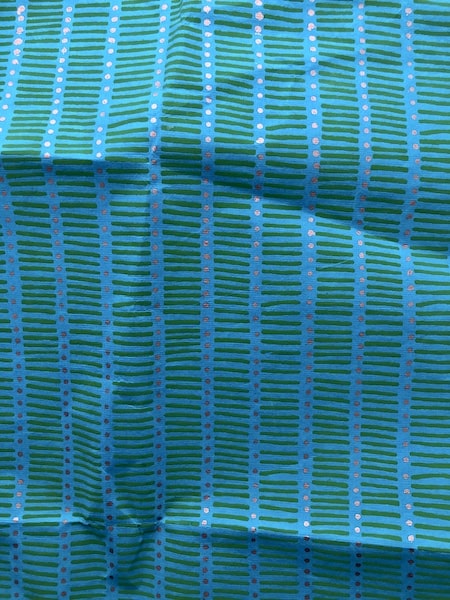
Pour ce projet, j’ai utilisé un papier recto-verso provenant d’un petit magasin général des Cantons de l’Est au Québec – il n’était pas étiqueté, donc je ne peux pas vous dire comment il s’appelle ! Vous pouvez utiliser n’importe quel papier, mais je pense que le papier d’origami métallisé maintiendrait mieux ensemble ce kusudama sans couture. Pour un papier plus épais comme celui que j’ai utilisé, la couture était vraiment nécessaire !
Matériel requis kusudama Méduse
• 60 feuilles de papier de votre choix (à découper en losanges, papier métallisé recommandé) • ciseaux • brochette à fondue • une aiguille et du fil (facultatifs si vous utilisez du papier métallisé)
Instructions kusudama Méduse
Step 1
Start with any kind of paper, keeping in mind that you will need to cut out 60 diamond-shaped sheets for this model. Foil paper will hold together best without sewing.
Step 2
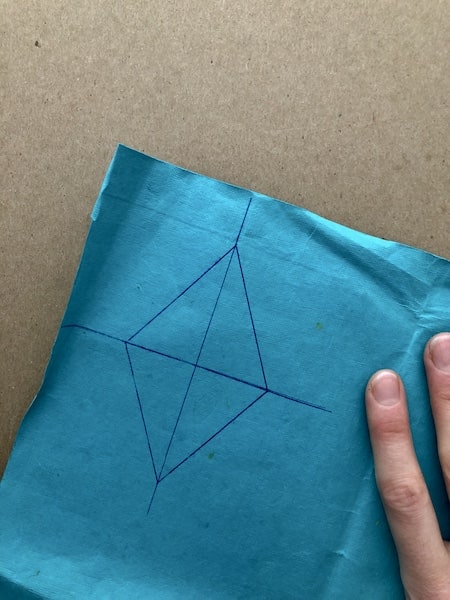
On the back of the paper, draw a diamond such that each side is equal and the width equals the length of each side. Choose a width and side length (I used 6 cm). The equation for the height is the length of a side multiplied by √3, so 10.4 cm in this case.
Step 3
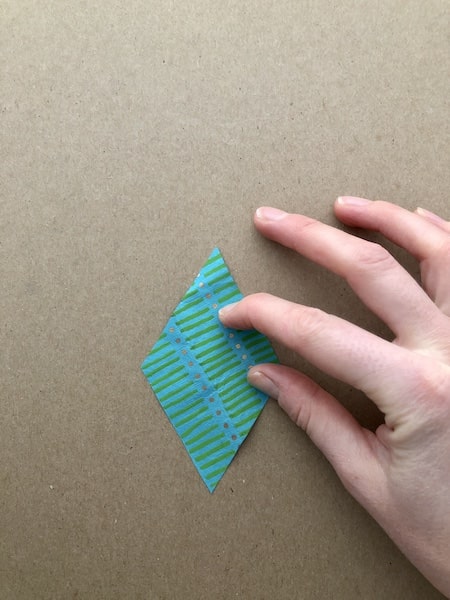
Cut out the diamond shape. Make sure to keep this first diamond form as a stencil, and use it to trace and cut out 59 other diamond shapes from the paper.
Step 4
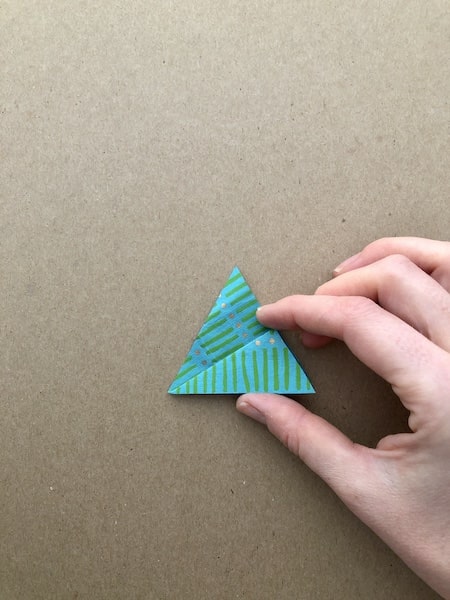
If your paper is patterned, start with the pattern facing up. Fold the lower diamond point up to the top point. Then, fold the top point diagonally down to the right-hand corner.
Step 5
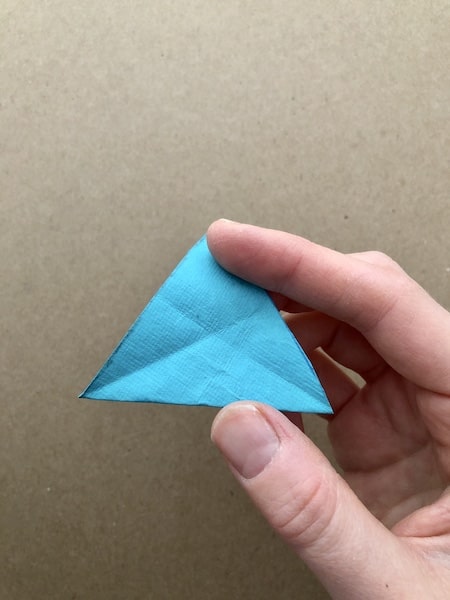
Open up the last fold from step 4 then repeat in the opposite direction by folding the top corner diagonally to the bottom left-hand corner and then unfold.
Step 6
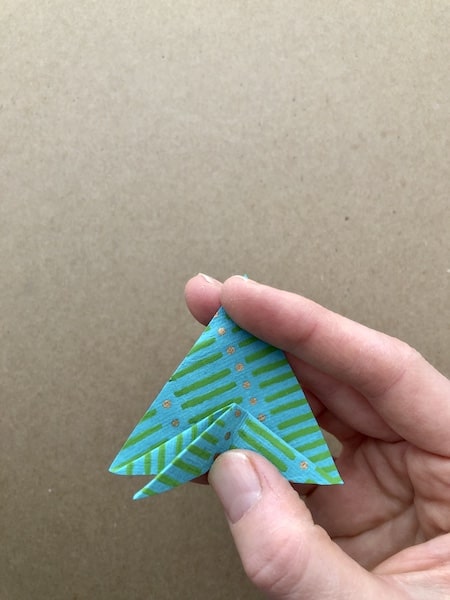
Using the fold lines you have created, fold along the bottom two lines in a triangle shape, then pinch the remaining paper together and swing the resulting flap straight to the left or right.
Step 7
Turn the model over and repeat the second fold in step 4 up to the end of step 6 on the other side.
Step 8
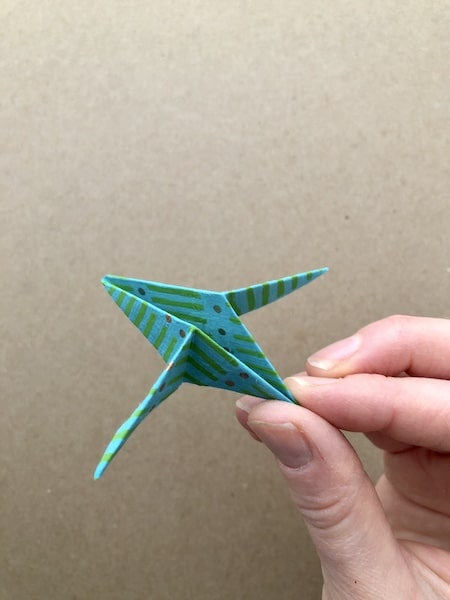
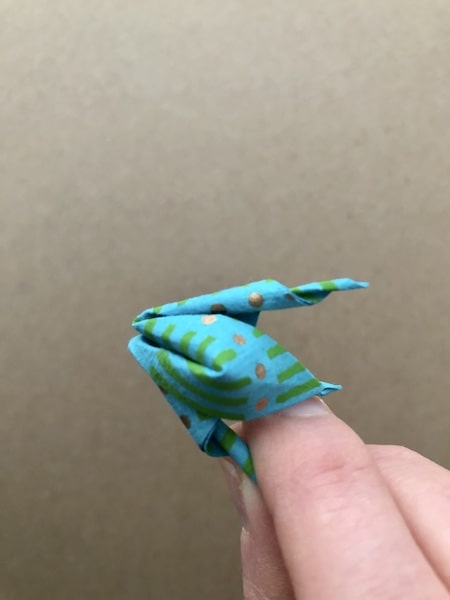
Now flip the model over, and carefully reverse fold one of the thicker flaps upwards, making sure to gently round the paper to look like a petal.
Step 9
Tightly curly the three remaining flaps, making sure the direction of curl is the same for all three.
Step 10
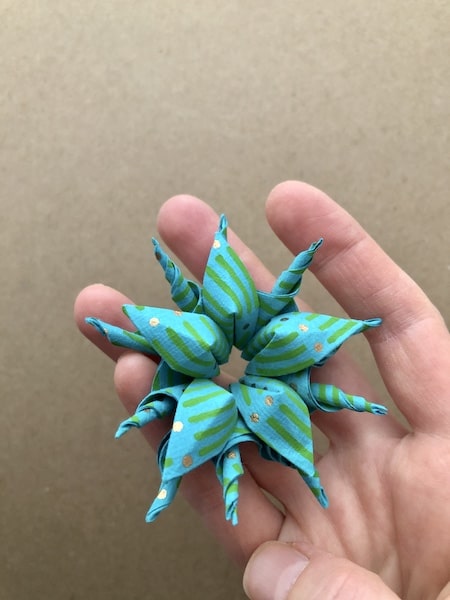
Attach five units together by curling one left-hand flap around one right-hand flap for each unit. Note that there will be one remaining curled point behind each petal that will not yet be attached to any other unit.
Step 11
Now assemble all 60 units by curling points together (you will likely need to sew the curls together as in the 12 petal kusudama if you are not using a foil paper). Start by folding a total of 12 flowers as in step 10. Then, for any given flower joint where two unit points are curled together, they should attach to the back of two unit points on another flower back that have been curled together. Additionally, for any given curled point in step 10 that was not yet attached to another flower, each point should be curled around two other lone curled points from the backs of another flower. In this way, there should be alternating curled spikes in the kusudama consisting of four units between flower petals and three units behind flower petals.
Step 12
If desired, curl the tips of the flower petals upwards using the fondue skewer. You can then attach a string to the kusudama to hang it up!