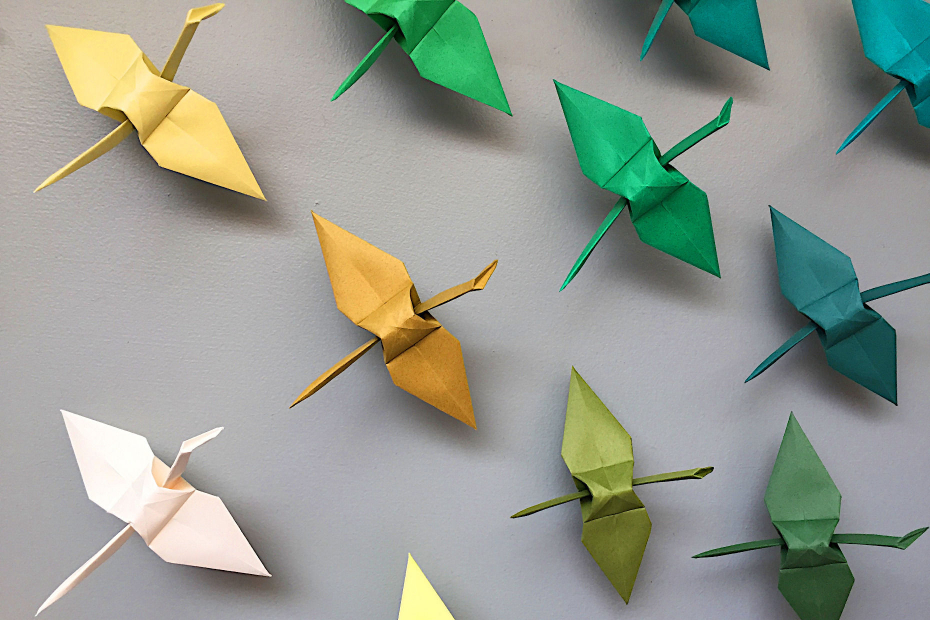
Ce bricolage d’art mural en papier origami est basé sur un modèle japonais traditionnel.
J’ai décidé de poster un premier projet basé sur des grues en papier car ces oiseaux pliés sont tellement emblématiques. Qui ne reconnaît pas une grue en origami?
Chaque fois que je déménage, je prends la résolution de créer de l’art mural en origami. Inutile de dire que je n’ai jamais tenu ma résolution… jusqu’à ce que nous déménagions à Trenton, en Ontario, il y a quelques années. J’ai été inspiré par de l’art mural de koi, de grues et de papillons en papier que j’avais vu. Je voulais quelque chose de spectaculaire et de classe. Quelque chose qui faisait un effet de vague montante et vaste. Essayez-le vous-même!
Trucs et astuces d’experts
J’aime utiliser du papier origami Tant pour les grues dans ce projet d’art mural. Vous pouvez acheter des paquets de 100 couleurs, qui vous permettent de créer un effet de dégradé de couleur. Ce type de papier est plus épais que le papier origami ordinaire. Il est donc un peu plus difficile à plier, mais les choix de couleurs valent l’effort de pliage supplémentaire. Le papier est également coloré au recto et au verso de chaque feuille. Si vous ne trouvez pas la marque Tant, tout autre type de papier origami qui vous plaît fonctionnera également.
Vous n’avez pas besoin de fabriquer autant de grues que moi pour obtenir un effet étonnant; même 10 à 20 peuvent être suffisants pour vraiment attirer l’attention. Fixez-vous un objectif pour un nombre réaliste que vous voulez faire, et faites-en un par jour pendant que vous regardez la télévision ou avant d’aller vous coucher.
Il est possible d’utiliser un pistolet à colle au lieu de la colle artisanale blanche, comme je le recommande. Je n’aime pas particulièrement les pistolets à colle car il est difficile de les utiliser très précisément et ils peuvent être très salissants. Cependant, vos grues tiendront très solidement si vous optez pour l’utilisation d’un pistolet à colle.
Une fois que vous avez terminé vos grues et avant de les épingler à quoi que ce soit, planifiez votre projet final en les posant sur le plancher, un lit ou une table. L’épinglage au mur fonctionne bien, mais vous pouvez également recouvrir un morceau de carton avec un joli papier (essayez un papier momi japonais blanc cassé) à utiliser comme arrière-plan. Les papeteries spécialisées, y compris celles qui ont des magasins en ligne, proposent généralement du papier momi.
Matériel requis art mural de grues en papier
• papier origami Tant, paquet de 100 couleurs • fil de bricolage métallique de calibre 26 recouvert de tissu ou de papier blanc (moins robuste mais plus facile à travailler) ou de plastique blanc (plus solide mais plus difficile à tordre et à plier) • ciseaux de couture • règle • perles en plastique ou en verre de 3 mm • punaises transparentes • colle blanche • ficelle de jute • pinces à linge • petit carré de tissu (facultatif) • perceuse (facultative)
Instructions art mural de grues en papier
Step 1
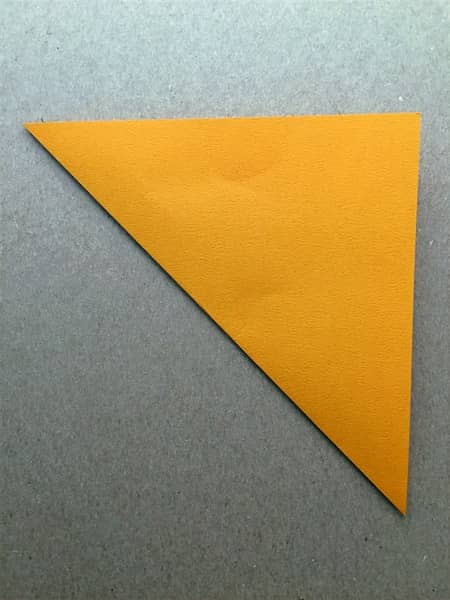
Start with a 6 inch square of tant origami paper.
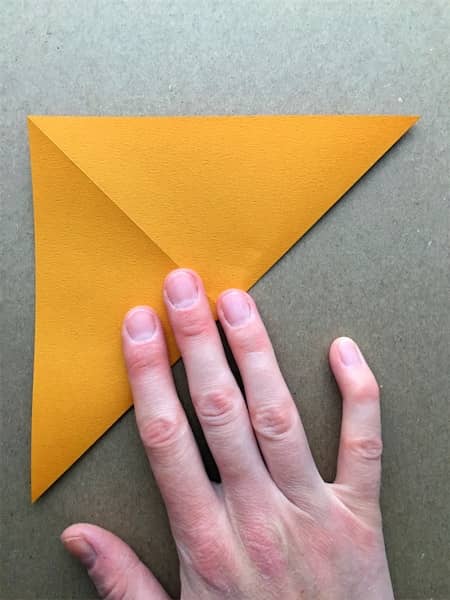
Step 2
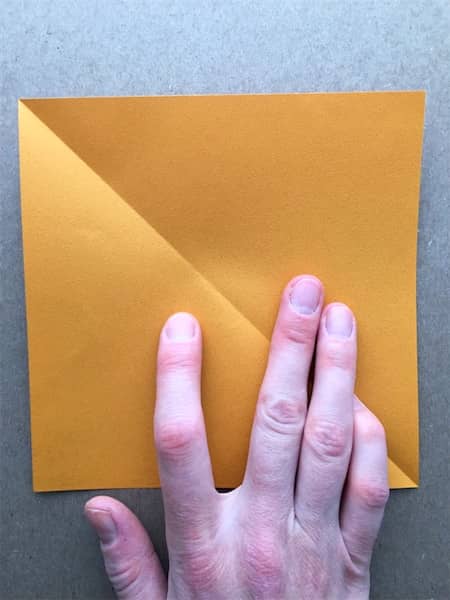
Fold along one of the diagonals.
Step 3
Open the sheet of paper back up.
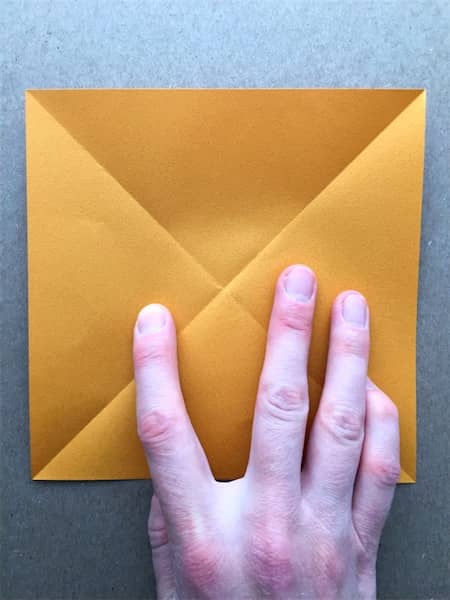
Step 4
Fold on the second diagonal.
Step 5
Open the sheet of paper back up.
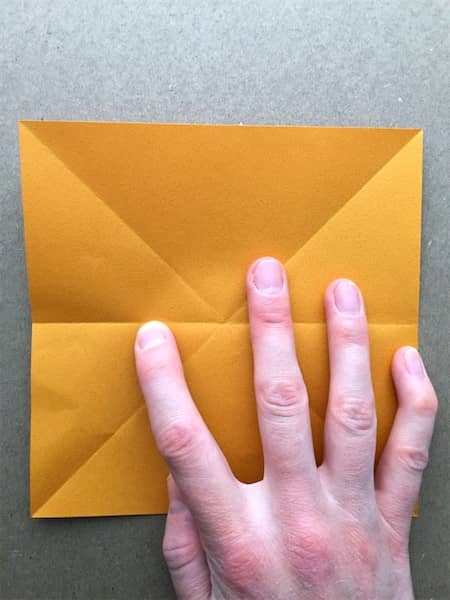
Step 6
Fold the paper in half to make a rectangle.
Step 7
Open the sheet of paper back up.
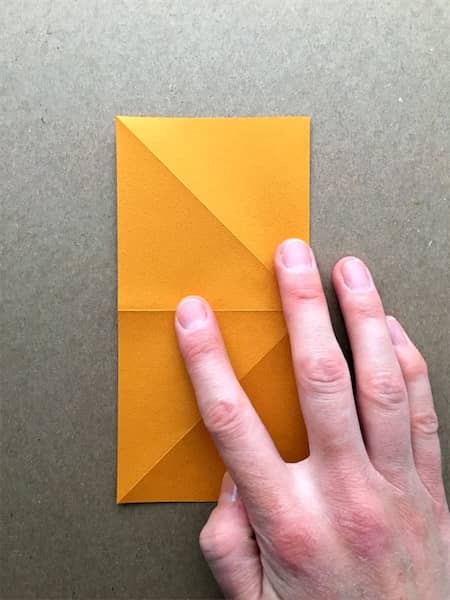
Step 8
Fold the paper in half to form a second rectangle.
Step 9
Open the sheet of paper back up.
Step 10
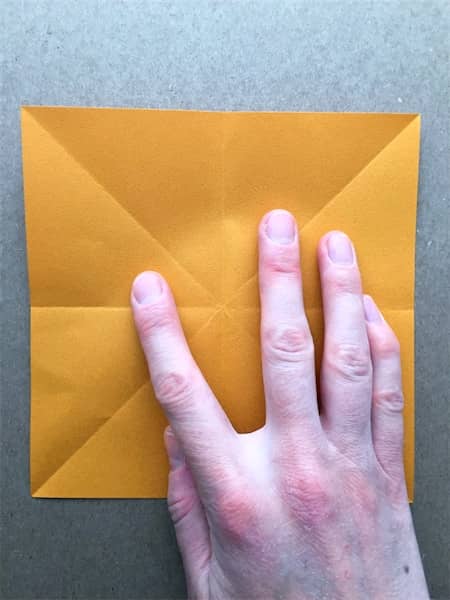
Refold the paper along one of the diagonals.
Step 11
Fold the unit in half, open edges facing down.
Step 12
Let the flap pop up and place your fingers inside.
Step 13
Squash fold the flap down to form a square.
Step 14
Flip the unit over to the other side.
Step 15
Repeat steps 12 and 13 on the other flap of paper.
Step 16
Your unit should now be square in shape.
Step 17
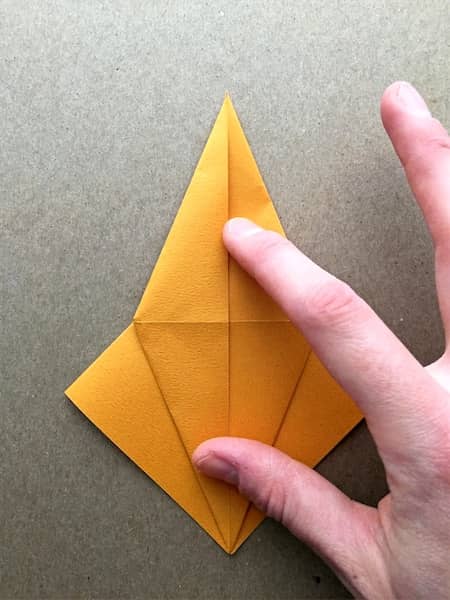
Fold the top left flap into the centre line.
Step 18
Fold the top right flap into the centre line.
Step 19
Fold down to the line formed by the two flaps.
Step 20
Open up all the flaps folded in steps 17 to 19.
Step 21
Lift up the top flap as high as the fold from step 19.
Step 22
Squash fold along lines made in steps 17 and 18.
Step 23
Flip the unit over to the other side.
Step 24
Fold the left flap into the centre line.
Step 25
Fold the right flap into the centre line.
Step 26
Fold the middle layers down to the line made by the two flaps.
Step 27
Open up the flaps from steps 24 to 26, as in step 20.
Step 28
Repeat step 21, lifting the upper flap only to the line made in step 26.
Step 29
Repeat step 22, squash folding along lines made in steps 24 and 25.
Step 30
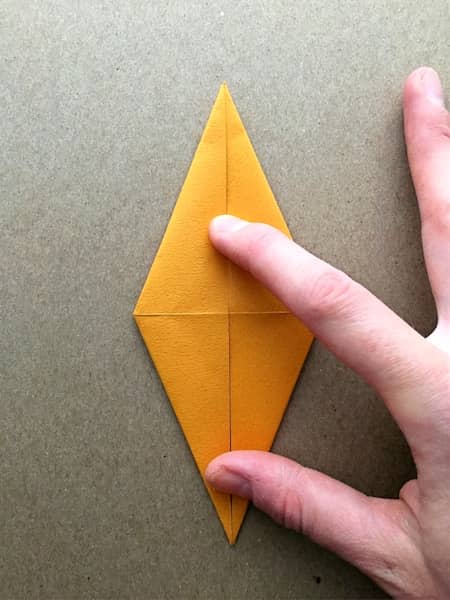
Fold the lower left layer of paper from the diamond into the centre line.
Step 31
Repeat step 30 on the right side.
Step 32
Flip the unit over onto the other side.
Step 33
Repeat step 30 with the remaining flap of paper.
Step 34
Repeat step 31 with the remaining flap of paper.
Step 35
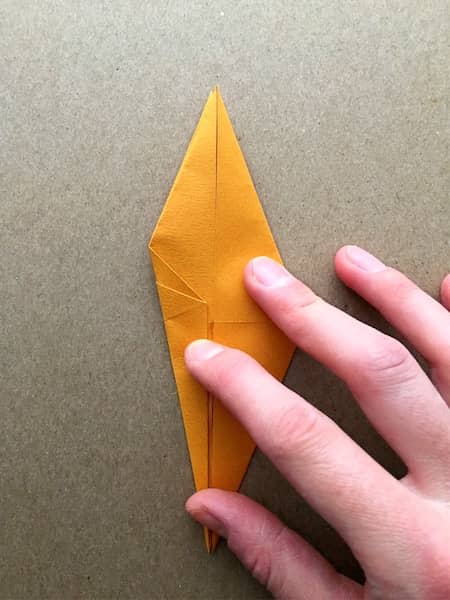
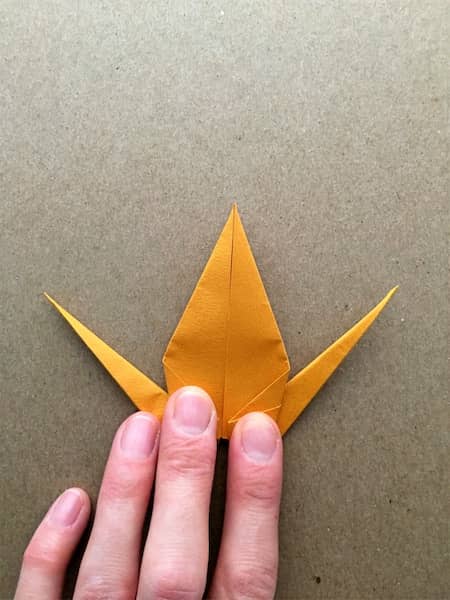
Slightly lift up the left upper flap of paper.
Step 36
Reverse fold the lower left point, swinging the layers of paper up.
Step 37
Flatten the layers of paper so that the point faces out at an angle around 45°.
Step 38
Repeat step 35 on the right, opening the upper right flap of paper slightly.
Step 39
Repeat step 36 on the right, reverse folding and swinging the point up.
Step 40
Repeat step 37 on the right, flattening the point at an angle around 45°.
Step 41
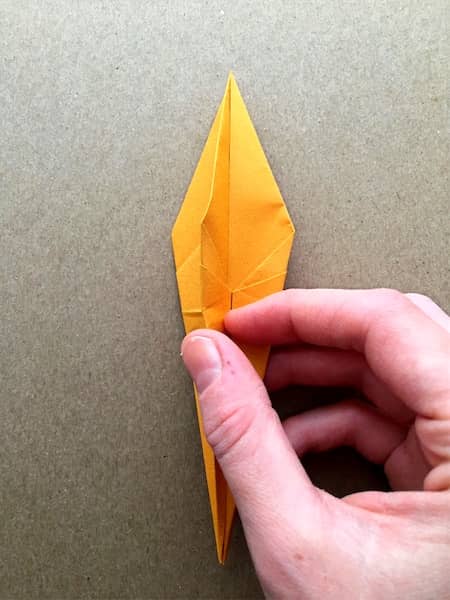
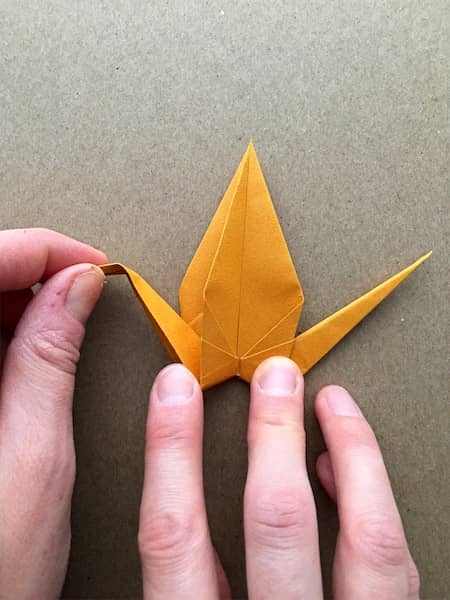
Open the left hand point to prepare a reverse fold.
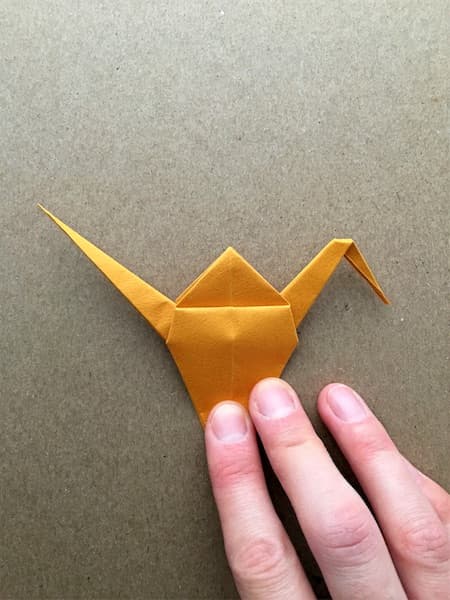
Step 42
Flatten the reverse fold to form the head of the crane.
Step 43
Fold down the first wing as far as it will go.
Step 44
Flip the unit over to the other side.
Step 45
Fold down the second wing as far as it will go.
Step 46
Rotate the model so you are viewing it from above.
Step 47
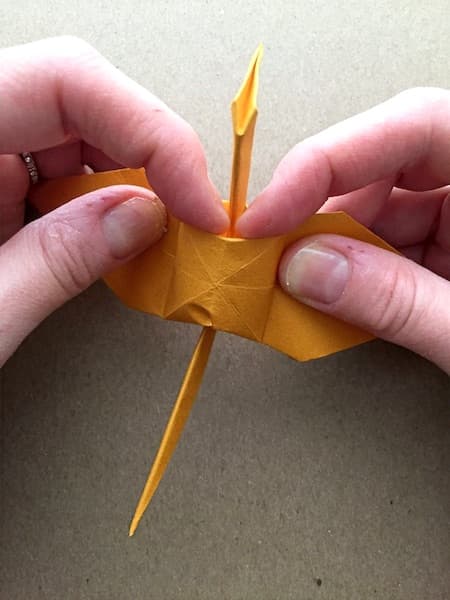
Carefully start pulling each wing away from the other.
Step 48
Shape the body as you pull the wings apart.
Step 49
Continue shaping the body and contour the edges.
Step 50
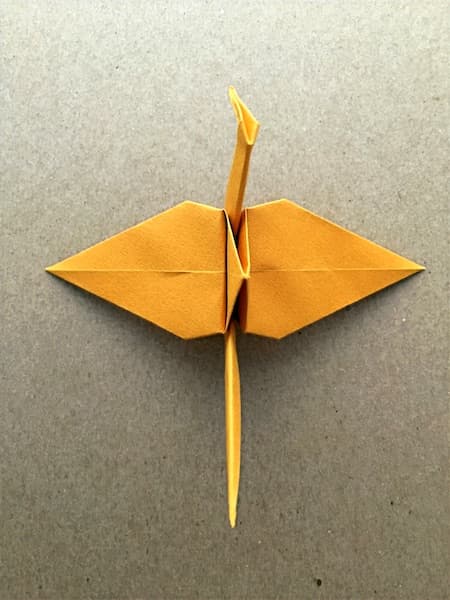
The finished model, before adding the wire and pin.
Step 51
Supplies for the final steps: 26 gauge cloth/plastic/paper coated wire, sewing scissors, ruler, 3 mm bead, clear pushpin, craft glue.
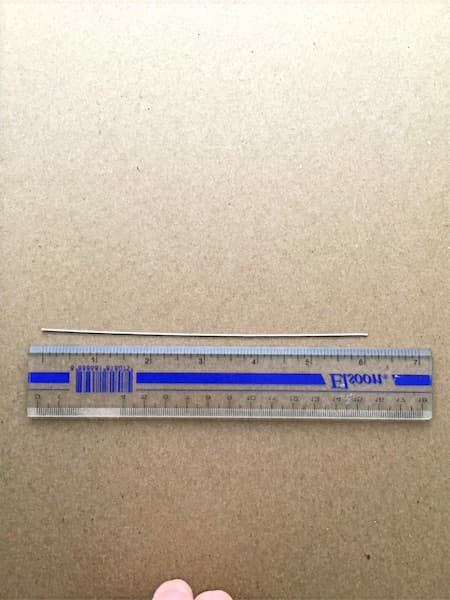
Step 52
Use your ruler to measure a 6 inch piece of craft wire (preferably around 26 gauge, and cloth, plastic or paper coated).
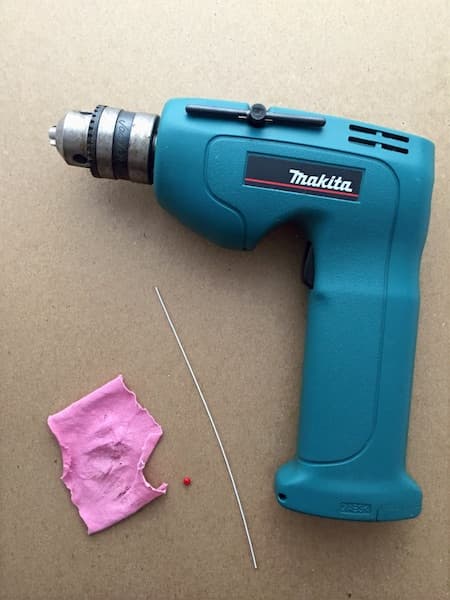
Step 53 (optional)
A drill is an optional item, along with a small piece of cloth, for twisting the bead and wire in a subsequent step.
Step 54
Thread the 3 mm plastic or glass bead onto the wire and make sure it is situated approximately halfway along.
Step 55
Bend the wire in half leaving the bead in the middle. Twist the wire together a couple of times, starting near the bead.
Step 56 (optional)
Open the chuck of the drill with the key or ratcheting mechanism, whichever you have.
Step 57 (optional)
Insert the cloth first and then the base of the wire into the chuck, then tighten with the key or ratchet.
Step 58 (optional)
Run the drill so that the wire twists around itself. Change the direction the drill turns if needed.
Step 59
If you did not use a drill, finish twisting by hand. Either way, your bead and wire should look like this.
Step 60
Take your paper crane and flip it upside down in preparation for inserting the bead and wire.
Step 61
Insert sewing scissors in the opening at the base and twist to open.
Step 62
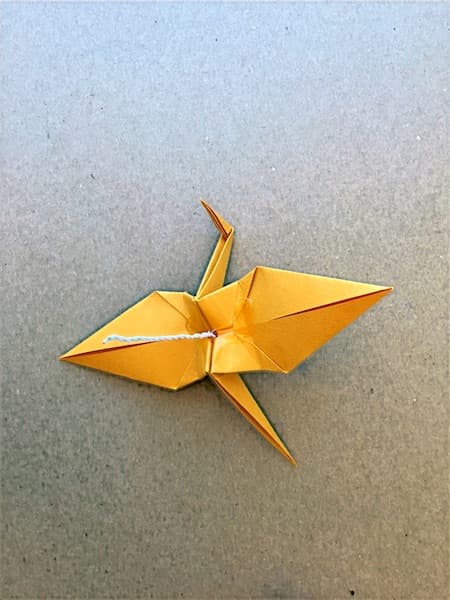
Place the wire and bead at the base of the crane, with the bead against the hole.
Step 63
Push the bead inside the crane by moving it gently back and forth.
Step 64
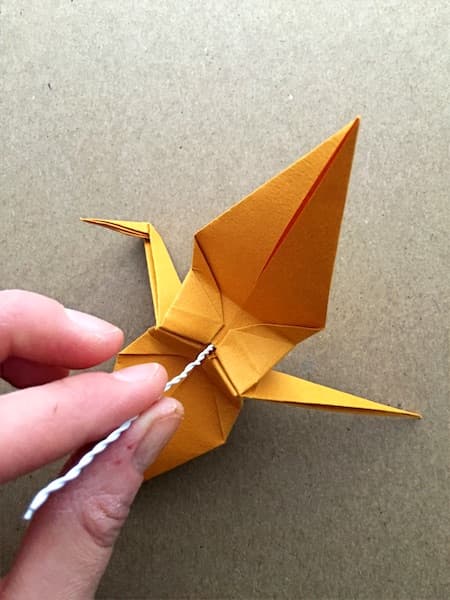
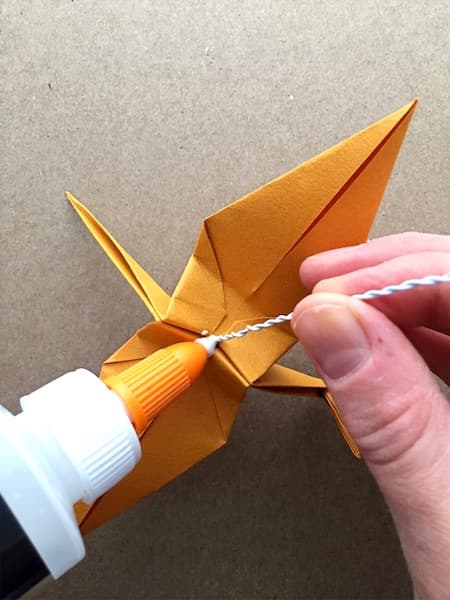
Hold the wire with one hand and begin applying craft glue at the opening.
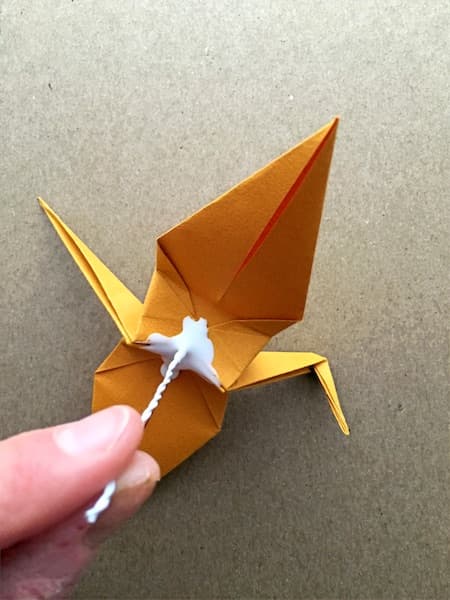
Step 65
Apply a liberal amount of craft glue to the base of the wire and crane.
Step 66
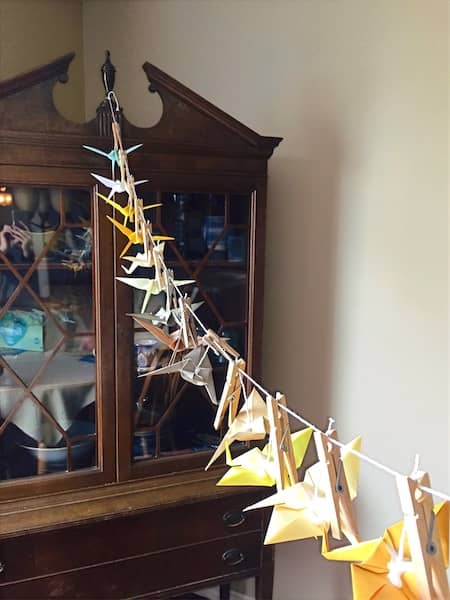
Use some twine to rig up a drying line inside.
Step 67
Attach the crane to the drying lane, facing down.
Step 68
Wait until the glue has completely dried.
Step 69
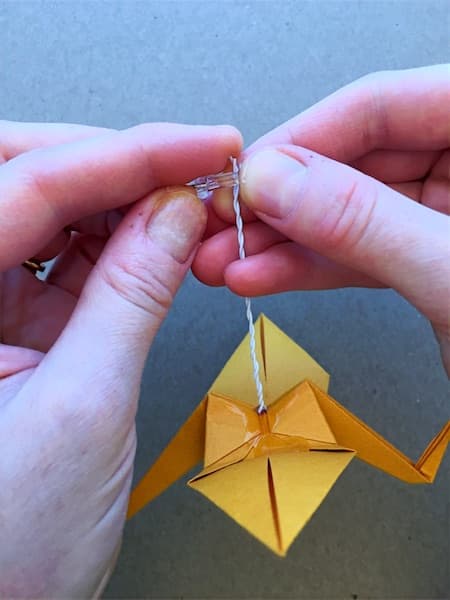
Begin to wrap the wire around the top of the pin.
Step 70
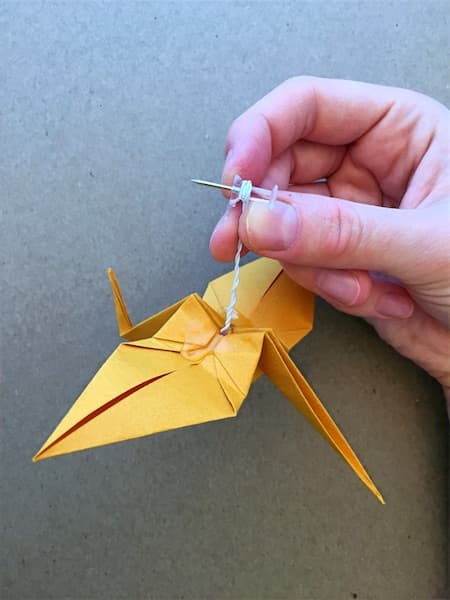
Wrap the wire around two and a half times in total.
Step 71
Push the wrapped wire down to the base of the pushpin.
Step 72
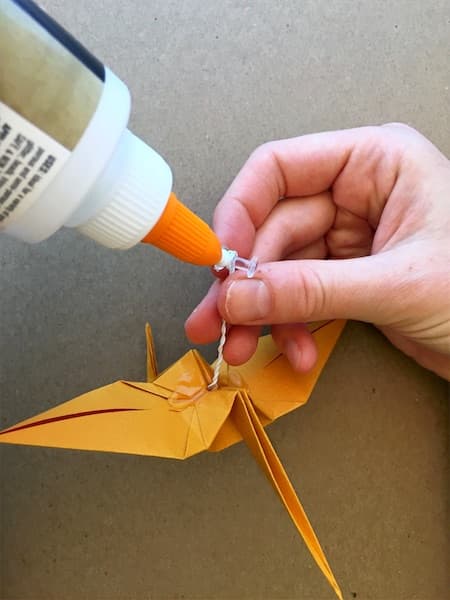
Apply craft glue around the pushpin base, covering the wrapped wire.
Step 73
Place your crane on a flat surface to dry where you don’t mind some glue drips.
Step 74
Once dried, bend the wire so that it is in line with the point of the pin.
Step 75
Create a mural! Pin your cranes to the wall or to paper covered cardboard.