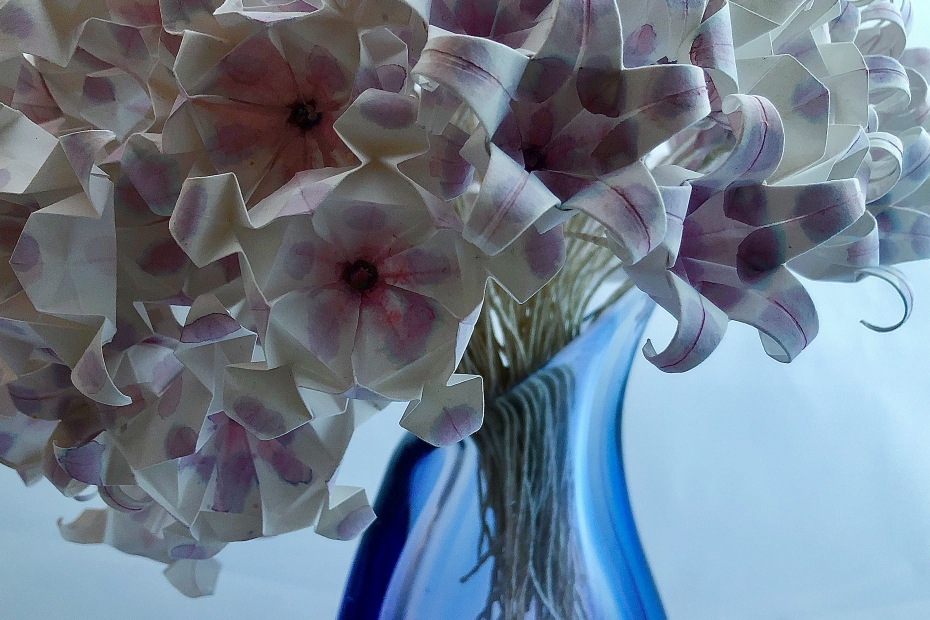
Pour colorer les fleurs, j’ai fait une solution d’eau et de colorant alimentaire, dans laquelle j’ai trempé un coton-tige pour peindre mes fleurs. Vous pourriez facilement utiliser de la peinture aquarelle diluée à la place et profiter de la même technique.
Matériel requis fleurs d’origami à cinq pétales à l’envers
• bloc à aquarelle et marqueurs de Crayola, 60 pages • fil de bricolage métallique de calibre 26 non revêtu • ciseaux • perles de verre tchèque polies au feu de 4 mm • colle blanche • ruban de fleuriste blanc • brochette à fondue • aiguille • coton-tige • colorant alimentaire, couleur au choix • eau • petit récipient pour la teinture
Instructions fleurs d’origami à cinq pétales à l’envers
Step 1
Start with a 4.5 inch square of white paper.
Step 2
Fold the square in half to make a rectangle.
Step 3
Fold the right corner up to the top.
Step 4
Open and fold the right corner down to the bottom.
Step 5
Open the paper.
Step 6
Fold the left corner to the centre of the cross formed by the two preceding folds.
Step 7
Fold the edge of the left flap to the outer left edge of the model.
Step 8
Fold the outer right flap to the line created by the left flap.
Step 9
Turn the model over.
Step 10
Fold the model in half (valley fold).
Step 11
Turn the model over again. Cut along the line of the lowest flap of paper to form a triangle.
Step 12
Open the paper and you should have a pentagon.
Step 13
Use existing fold lines to collapse the model, using alternating valley and mountain folds, to achieve this shape.
Step 14
Fold the left and right upper flaps in as well as the top flap.
Step 15
Use the folds you just made to open and squash the upper flap of the model.
Step 16
Fold upper flap down. Repeat steps 14 and 15 and the beginning of this step on the other side of the model.
Step 17
You will be left with one side of the model sticking out further than the other. Fold the upper right flap over the left (or the upper left flap to the right if the leftover flap sticking out is located on the left).
Step 18
The model should now look like this, or with the extra flap on the left.
Step 19
Fold the leftover flap in to the centre line.
Step 20
Inside reverse fold the flap along the crease you just made.
Step 21
Now fold the upper two layers into the centre line along the longest edges.
Step 22
Carefully open the layers of paper making up the flaps to prepare to squash them.
Step 23
Squash the flaps down and fold the upper edges of the model so that they taper to a point.
Step 24
To make the inside out flower, open up the model completely and turn the paper so the outside faces up.
Step 25
Use existing fold lines to begin to collapse the model as pictured.
Step 26
Continue collapsing the model along existing fold lines as pictured.
Step 27
After completing the folds, your model should now look like this.
Step 28
Squash the outer petals one by one.
Step 29
After making the petals, curl them with a tool such as this fondue skewer.
Step 30
Colour the flower as you wish using a q-tip dipped in dye or paint.