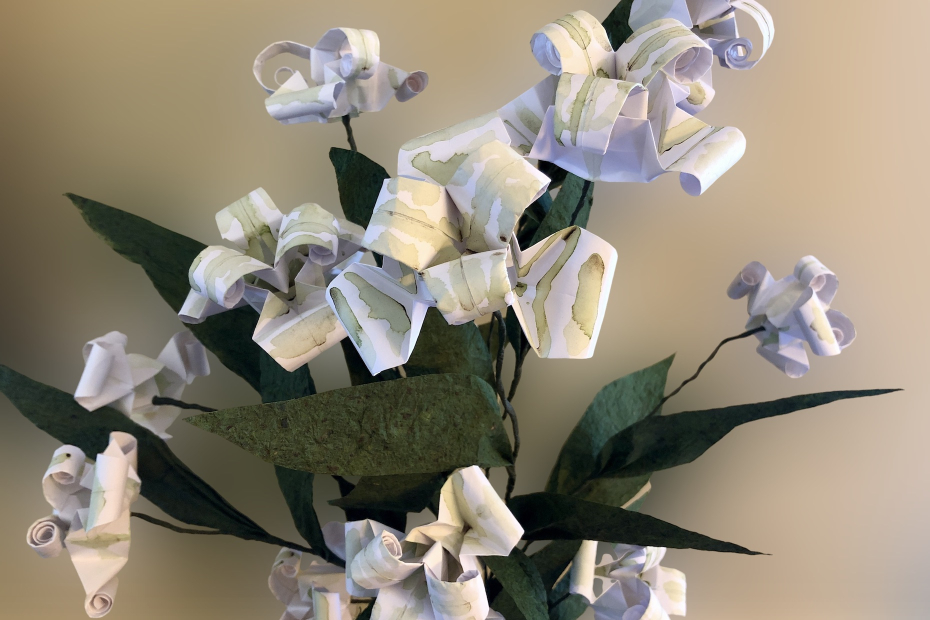
Pour colorer les fleurs, j’ai fait une solution d’eau et de colorant alimentaire, dans laquelle j’ai trempé un coton-tige pour peindre mes fleurs. Vous pourriez facilement utiliser de la peinture aquarelle diluée à la place et profiter de la même technique.
Pour un effet optimal, essayez de trouver une nuance de ruban de fleuriste vert qui s’harmonise avec le vert du papier momi que vous utilisez pour faire les feuilles.
J’aime la façon dont les deux modèles de fleurs différents sont empilés pour créer une fleur à six pétales. Pourtant, vous pourriez également les séparer pour obtenir deux modèles à trois pétales.
Matériel requis fleurs d’origami à trois pétales à l’envers
• bloc à aquarelle et marqueurs de Crayola, 60 pages • fil de bricolage métallique de calibre 26 non revêtu • ciseaux • perles de verre tchèque polies au feu de 4 mm • colle blanche • ruban de fleuriste vert • brochette à fondue • papier momi vert • aiguille • coton-tige • colorant alimentaire, couleur au choix • eau • petit récipient pour la teinture
Instructions fleurs d’origami à trois pétales à l’envers
Step 1
Start with a 9 inch square of white paper.
Step 2
Fold in half to make a rectangle and then unfold.
Step 3
Fold the top left corner diagonally to the line you just made, then unfold.
Step 4
Repeat step 3 on the right-hand side.
Step 5
Cut out the shape of an equilateral triangle.
Step 6
Fold in half three different ways.
Step 7
Collapse the form along the lines you folded to make a base with three flaps.
Step 8
Fold each left-hand flap into the centre line.
Step 9
Reverse fold the flaps from step 8 inside the model.
Step 10
Rotate the model then fold the left-hand flaps into the centre line again.
Step 11
Begin a squash fold on one of the flaps.
Step 12
Complete the squash fold while also folding in the lower edge of the model so that it tapers to a point. Repeat on all three flaps.
Step 13
Fold each of the the three right-hand flaps into the centre line of the model.
Step 14
Open up the model, folding each of the three petals down.
Step 15
Curl petals with the fondue skewer.
Step 16
Colour the flower as you wish with the q-tip dipped in food colouring and water.
To make the inside out flower, open up the model completely after step 13 and turn the paper so the outside faces up.
Step 19
Use existing fold lines to collapse the model as pictured.
Step 20
Squash fold the petals.
Step 21
Curl the petals with the fondue skewer and then colour them with the q-tip and dye. Once dry, make a hole in the base of the model with the needle, add glue to the inside, then pass the stem of the first completed flower model through and leave to dry. Ensure the petals of each flower are offset for the best effect.
Step 22
Once dry, the flower should look like this.
Step 23
Cut out long leaf shapes from the green momi paper.
Step 24
Crimp the bases of the momi paper leaves.
Step 25
Wrap the stem of the flower with florist tape, securing leaves under the tape as you like.