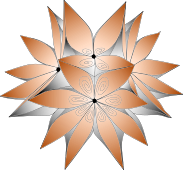
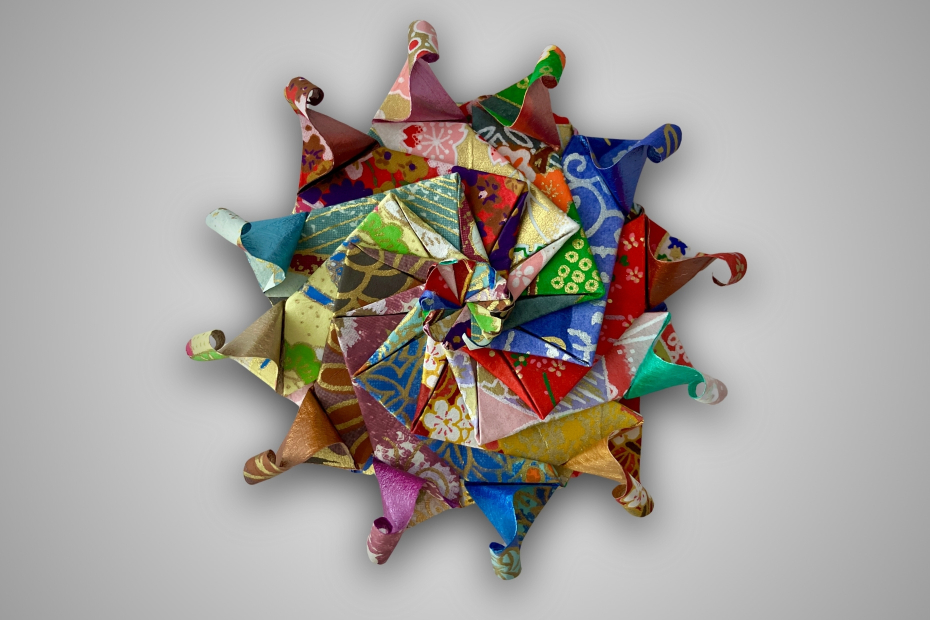
Il est composé de douze morceaux de papier en forme de triangles équilatéraux. Si vous souhaitez réaliser des mandalas dos à dos pour un mobile, vous aurez besoin de vingt-quatre unités par mandala suspendu. Je trouve qu’il ressemble un peu à la couronne solaire, d’où son nom !
Trucs et astuces d’experts
Pour ce projet, j’ai utilisé du papier chiyogami dont j’ai peint le verso avec de la peinture acrylique métallique. Vous verrez dans les instructions ci-dessous qu’il peut être utile d’utiliser un ruban de masquage de bonne qualité lorsque vous peignez le verso des feuilles de papier. En réalité, vous pouvez utiliser n’importe quel papier pour ce projet, mais sachez que le verso sera affiché à l’intérieur de la « couronne » enroulée du mandala. Si vous souhaitez réaliser un mobile, vous pouvez fabriquer vous-même une structure ou en acheter une, par exemple un mobile pour présenterdes photos.
Matériel requis mandala couronne solaire
• 12 carrés de papier de votre choix (à découper en triangles équilatéraux ; j’ai utilisé du papier chiyogami) • ciseaux • brochette à fondue • peinture acrylique métallique (facultative, pour peindre le verso du papier) • pinceau (facultatif, pour peindre le verso du papier) • ruban de masquage (facultatif, pour peindre le verso du papier) • bâton de colle (facultatif) ou colle blanche (facultative, pour fixer sur une carte de vœux, une décoration murale ou à un autre mandala pour réaliser un mobile) • papier cartonné épais de votre choix pour une carte de vœux (facultatif) • fil (facultatif, pour un mobile) • structure de mobile prête à l’emploi (facultative, par exemple en métal ou faite maison)
Instructions mandala couronne solaire
Step 1
Start with a square of paper. I used chiyogami paper that I painted on the back with metallic acrylic paint. See step 1 of the starfish mandala for tips on using masking tape to neatly paint the back of the paper while protecting the front.
Step 2
Follow Steps 1-4 of the sirius kusudama. You will need scissors to cut the paper into a triangle shape and then you will fold it into this unit. Next, fold the upper left flap to the right and the lower right flap to the left.
Step 3
The unit should now look like this.
Step 4
Repeat steps 1-3 to make another unit, then place it inside the two left flaps of the first one.
Step 5
Fold down the point of the first unit’s upper left flap so that the point touches the bottom of the lower unit and the left side of the fold connects with the upper edge of the second unit.
Step 6
Fold the same flap back on the crease created in step 5 and tuck it inside the pocket of the second unit’s upper flap.
Step 7
Make a total of 12 units and assemble them following steps 4-6.
Step 8
Flip the mode over.
Step 9
Starting with the first unit you created, fold the point of its larger flap backwards on itself as far down and inwards as it will go.
Step 10
Repeat step 9 with all 12 points. You will have to carefully arrange each point under the ones on top of it as you go.
Step 11
Now fold the outer edge of the original unit inwards in line with the edge created in step 9.
Step 12
Repeat step 11 on all units, tucking each of the 12 points under the ones on top.
Step 13
Partially squash fold and then curl back the edge point of the original unit using a fondue skewer or implement of your choice.
Step 14
Repeat the squash folds and curling on all 12 points.
Step 15
Curl the inner points of the model inwards.
Step 16
The final unit, complete!
Step 17
If you want to make a greeting card, glue the model onto cardstock. In this example, I also glued beads in the centre. You can also mount the model onto a sturdy backing to create a piece of wall art.
Step 18
If you want to make a mobile, create a second model, then glue two models together back-to-back with a thread between for hanging. Take a look at the double pinwheel mandala for photos of mandala mobiles.