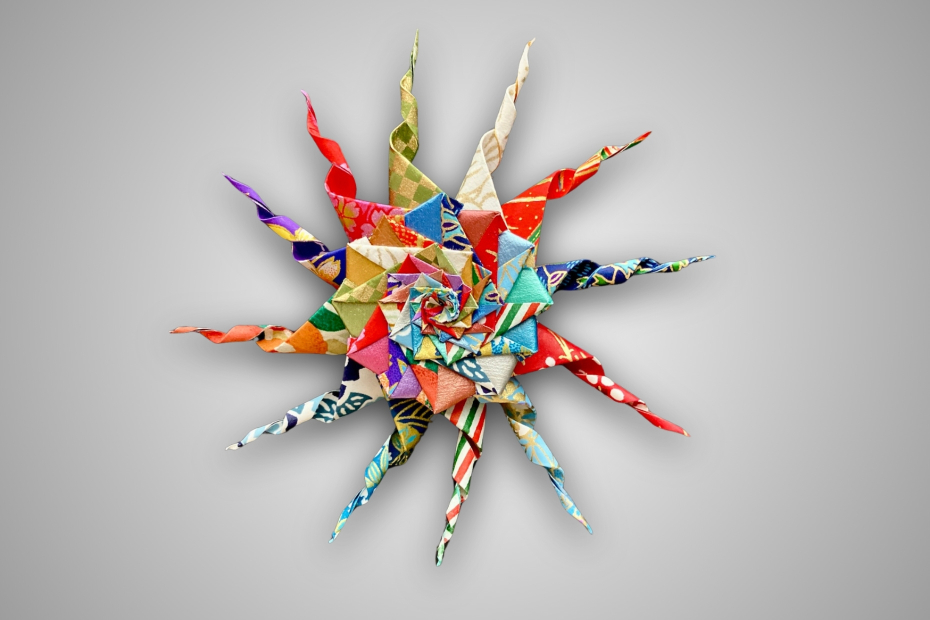
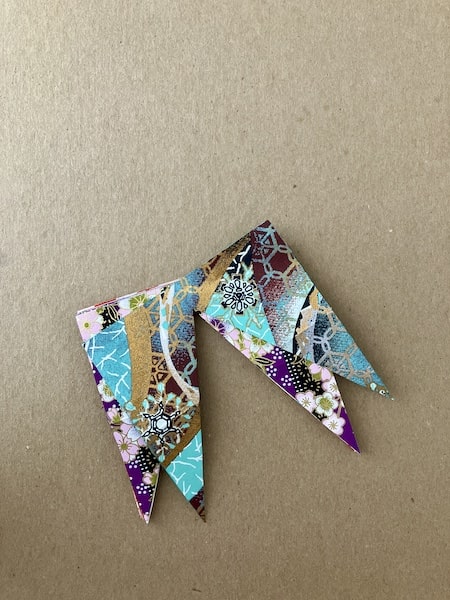
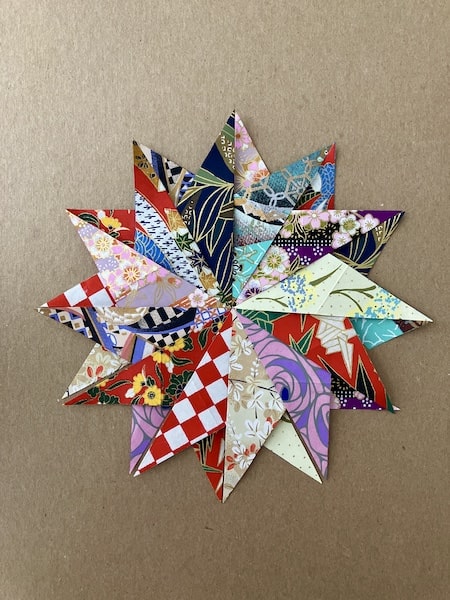
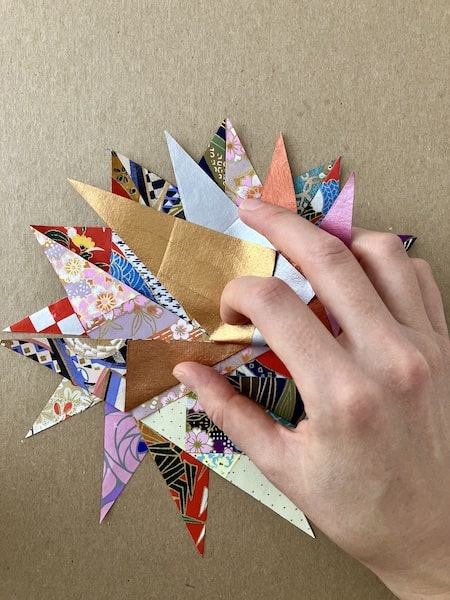
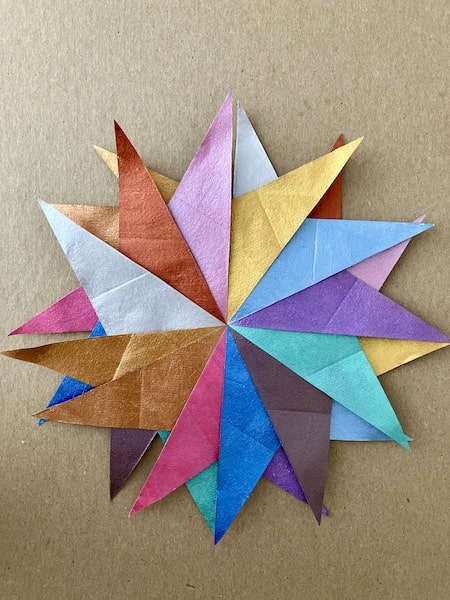
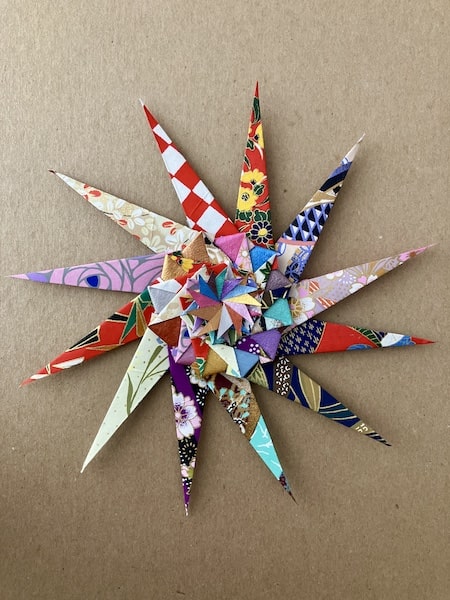
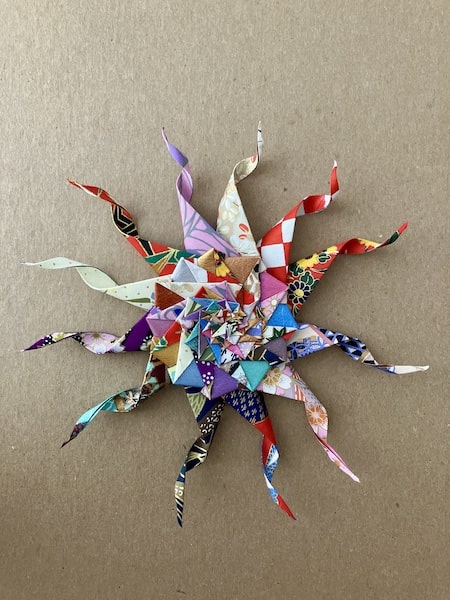
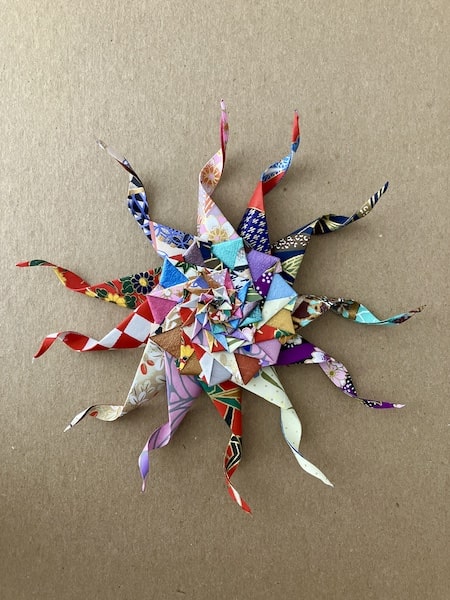
Il est réalisé à partir de douze morceaux de papier, restes obtenus après avoir découpé des triangles équilatéraux dans des carrés. La conception crée un mandala avec des pointes courbées ressemblant aux bras d’une étoile de mer, d’où le nom ! Si vous souhaitez réaliser un mobile, vous devrez fabriquer deux mandalas étoile de mer et les assembler dos à dos pour chaque structure suspendue.
Trucs et astuces d’experts
Pour ce projet, j’ai utilisé du papier chiyogami dont j’ai peint le verso avec de la peinture acrylique métallique. Vous verrez dans les instructions ci-dessous qu’il peut être utile d’utiliser un ruban de masquage de bonne qualité lorsque vous peignez le verso des feuilles de papier. En réalité, vous pouvez utiliser n’importe quel papier pour ce projet, mais sachez que le verso sera partiellement visible à différents endroits du mandala. Si vous souhaitez réaliser un mobile, vous pouvez fabriquer vous-même une structure ou en acheter une, par exemple un mobile pour présenter des photos.
Matériel requis mandala étoile de mer
• 12 carrés de papier de votre choix (j’ai utilisé du papier chiyogami) • ciseaux • peinture acrylique métallique (facultative, pour peindre le verso du papier) • pinceau (facultatif, pour peindre le verso du papier) • colle (facultative, pour coller sur une carte de vœux si vous choisissez d’en réaliser une) • ruban de masquage (facultatif, pour peindre le verso du papier) • fil (facultatif, pour un mobile) • structure de mobile prête à l’emploi (facultative, par exemple en métal ou faite maison)
Instructions mandala étoile de mer
Step 1
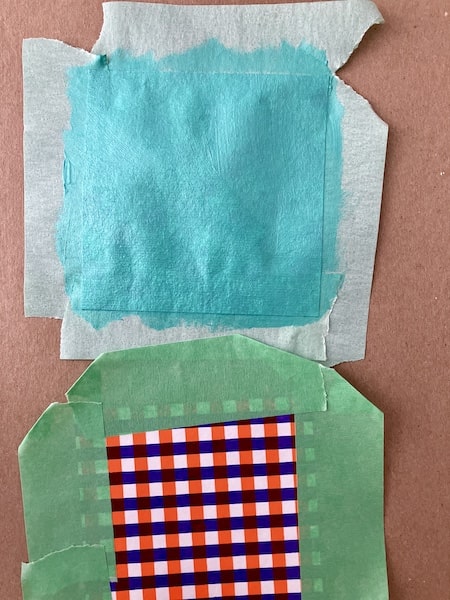
Start with a square of paper. If you want to use chiyogami paper and paint the pack, you can use masking tape to border the front side, then flip the paper and paint the back.
Step 2
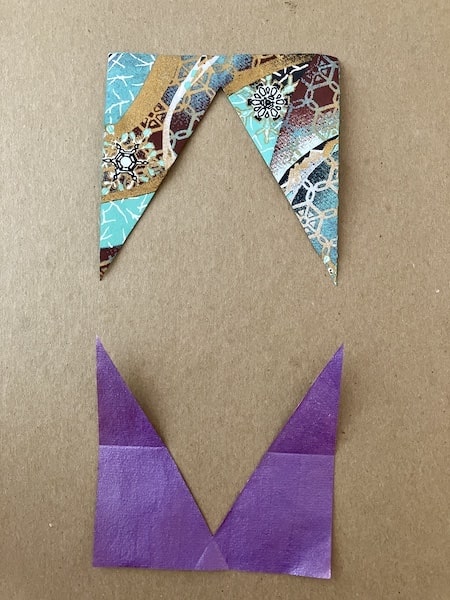
Cut triangles from the paper as in steps 1-6 of the three petal inside out origami paper flowers and save the remaining pieces. The remaining pieces are those needed for this project.
Step 3
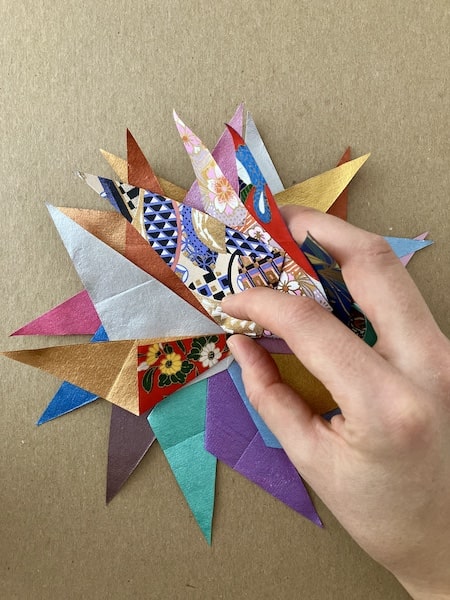
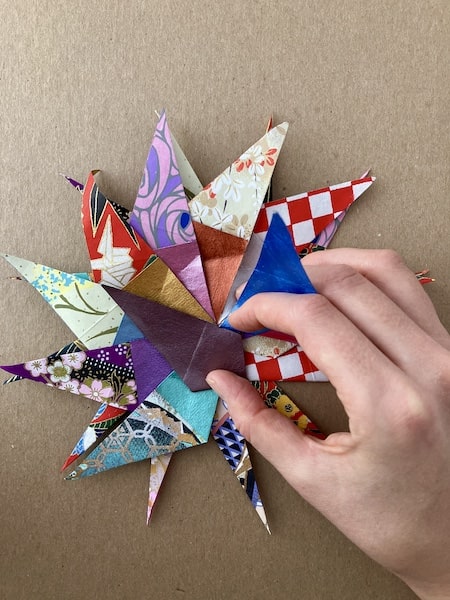
Pile up 12 pieces of the remains from cutting triangles on top of each other, then fan them out. One half of each paper should fan underneath and the other on top, creating an interlocking effect.
Step 4
This is what the pieces of paper should look like fanned in a complete circle.
Step 5
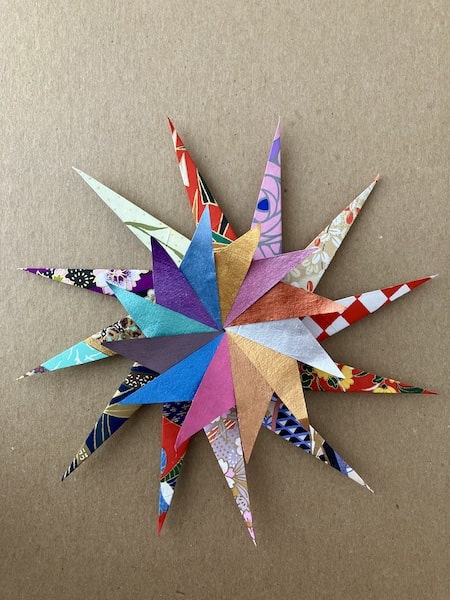
Lifting up the points of paper above it, fold the inner back edge of one point to align with the other opposing edge. Repeat on all 12 points. The result should look like the top layer of step 10. Then flip the model over.
Step 6
This is what the model should look like once you flip it over.
Step 7
Now, repeat step 5 on all 12 points, lifting the layers of paper up that cover the one you are working on, then placing the layers back down as you finish folding each point.
Step 8
The model should now look like this.
Step 9
Make each point more slim by folding the outer edge that is slightly less long up to meet the edge that is somewhat longer. Repeat on all 12 points then flip the model over.
Step 10
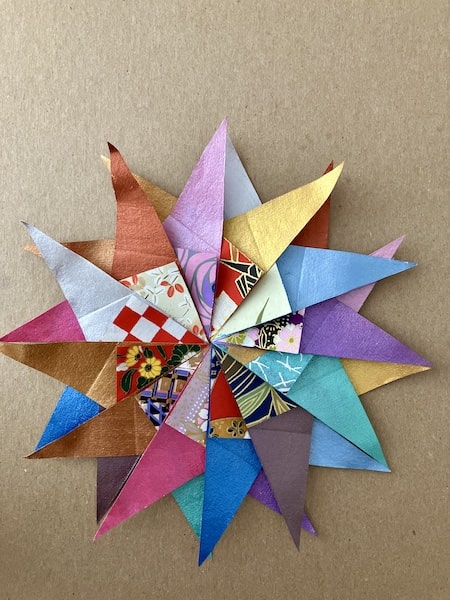
The model should now look like this. You can see the slimmer points of the back layer now below.
Step 11
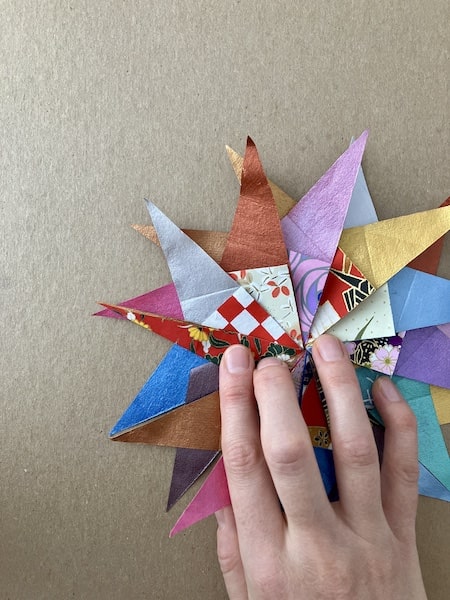
Lifting up the layers of paper above each flap, fold each point in half. You need to align the outer edge with the middle of the mandala, folding it in as far as it will go. Fold all 12 points in this manner, one on top of the other, arranging the points in a fan.
Step 12
This is what the model should look like now.
Step 13
Again, lifting up the layers above, fold the outer edge of each point into the middle as far as it will go. Fold the layers one at a time, arranging them in an interlocking fan pattern.
Step 14
Repeat the folding of the points into the middle one at a time, arranging them again in an interlocking fan pattern, one point over top of another.
Step 15
This is what the model should now look like.
Step 16
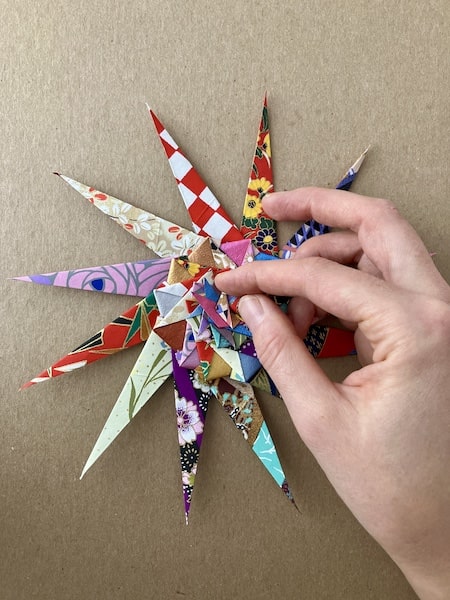
You can repeat the folding of the points into the middle one more time, arranging them again in an interlocking fan pattern, one over top of another.
Step 17
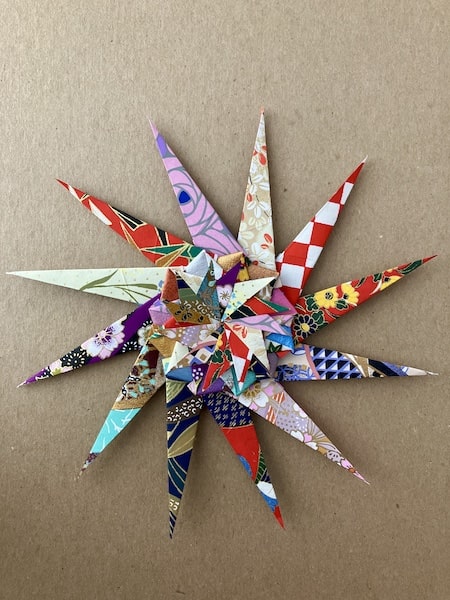
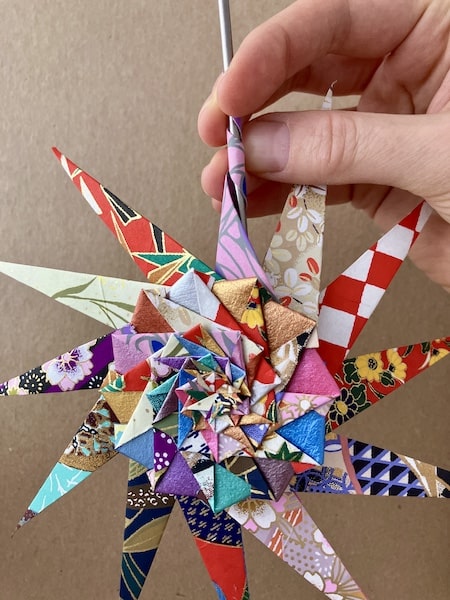
This is what the model should now look like. Now use the fondue skewer or implement of your choice to curl the outer points.
Step 18
The model with the outer points curled.
Step 19.
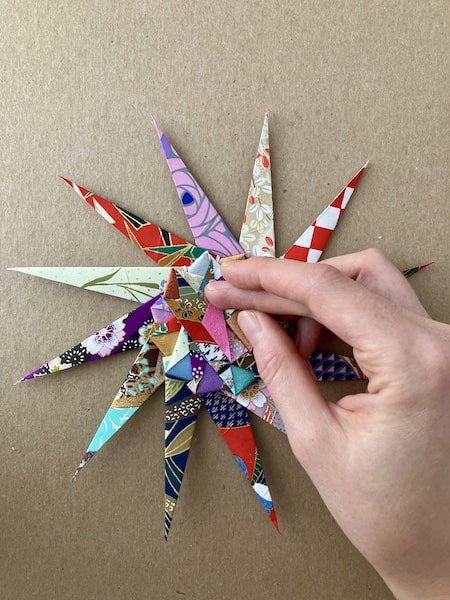
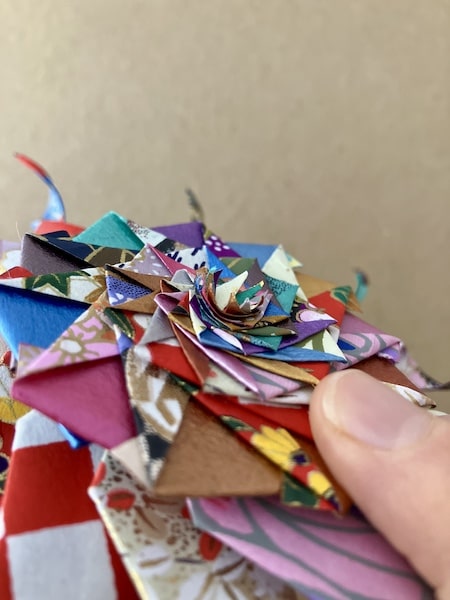
Curl the tiny points at the centre of the model inwards and upwards.
Step 20
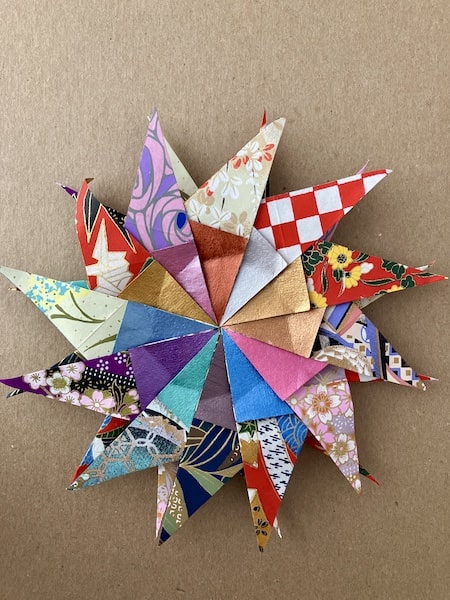
The final model, now complete!
Step 21
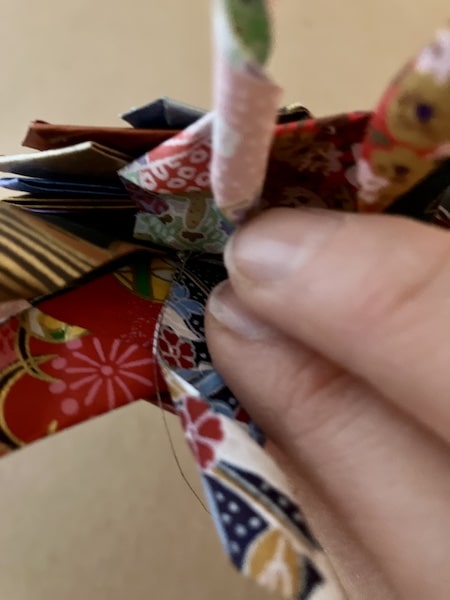
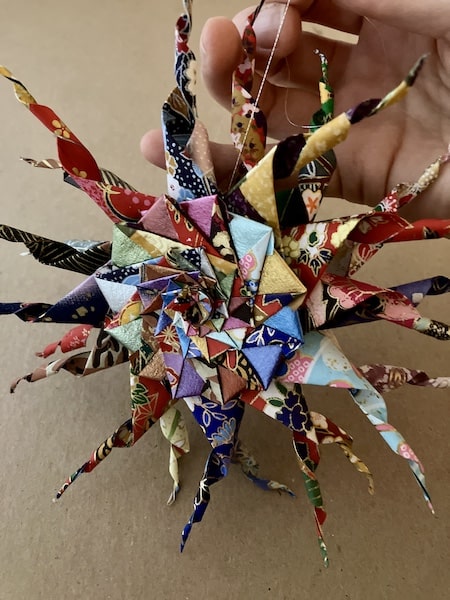
To create a mobile, I like the effect of two models back to back. To attach them, I wrapped string around what almost could be thought of as the « axle », or the most slim part of the inner model where all the pieces of paper join. I then tightly knotted the strings from the two models together.
Step 22
This is what two models look like held together with string, back to back. For photos of mandala mobiles, take a look at the double pinwheel mandala page. You can also glue one model onto cardstock for a greeting card, or mount it onto a sturdy backing to create a piece of wall art.