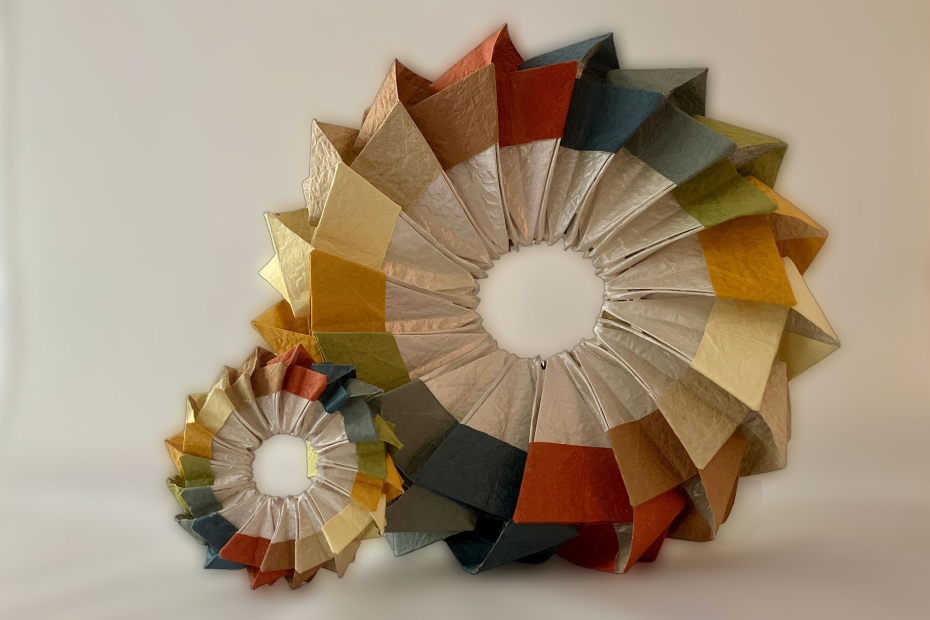
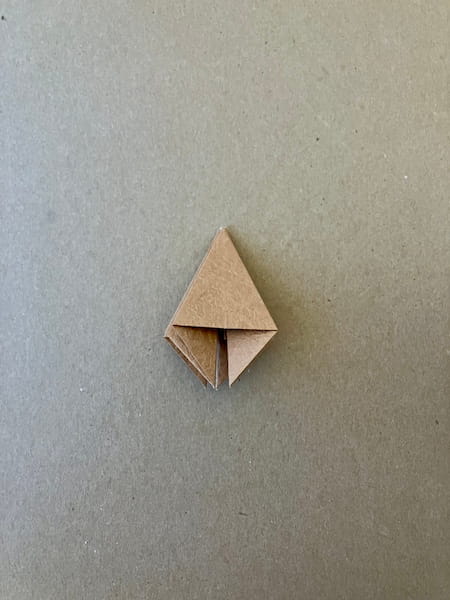
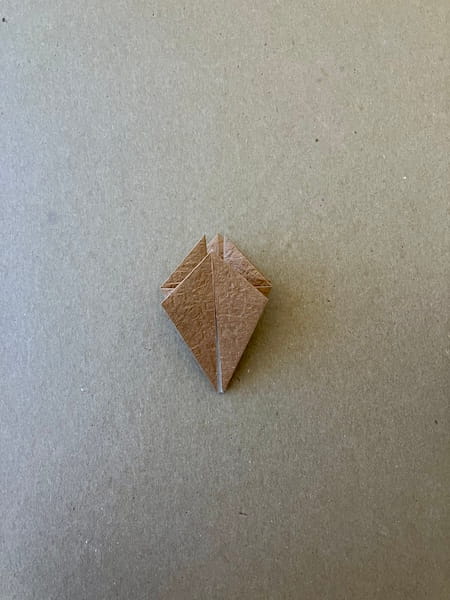
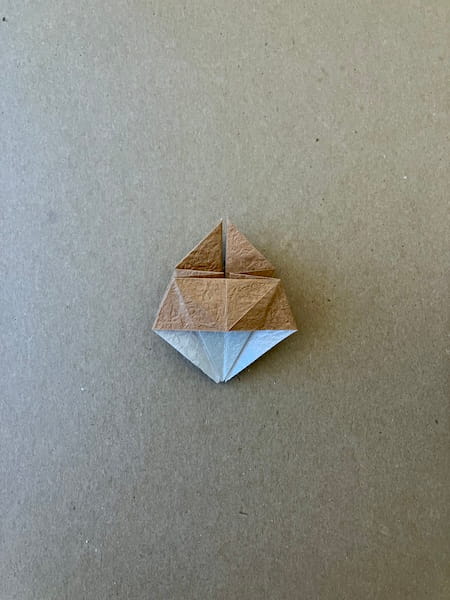
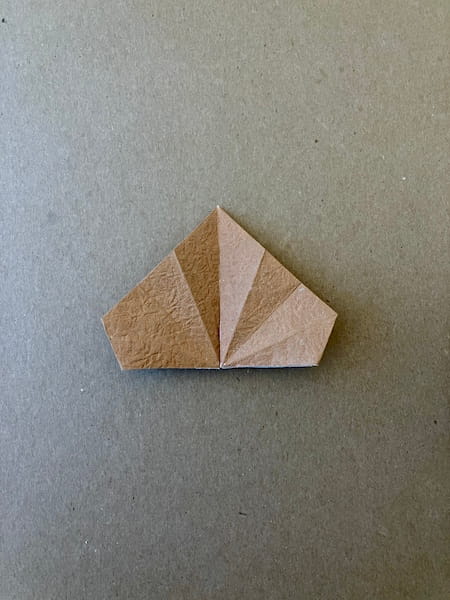
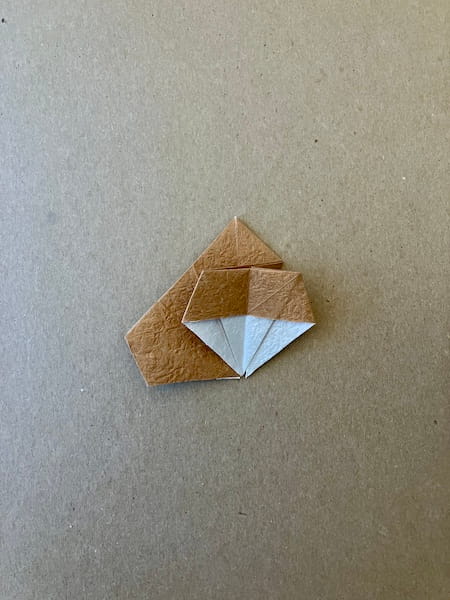
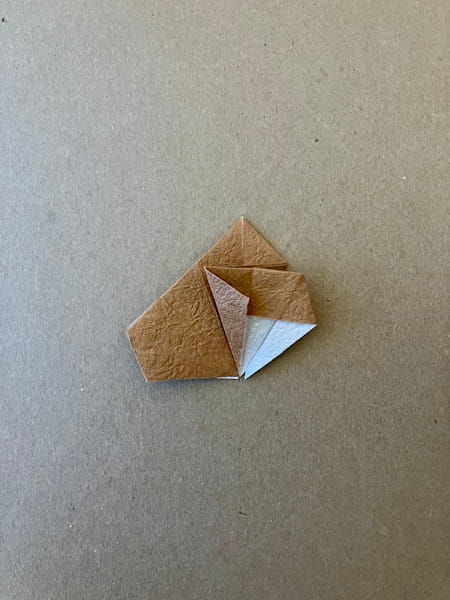
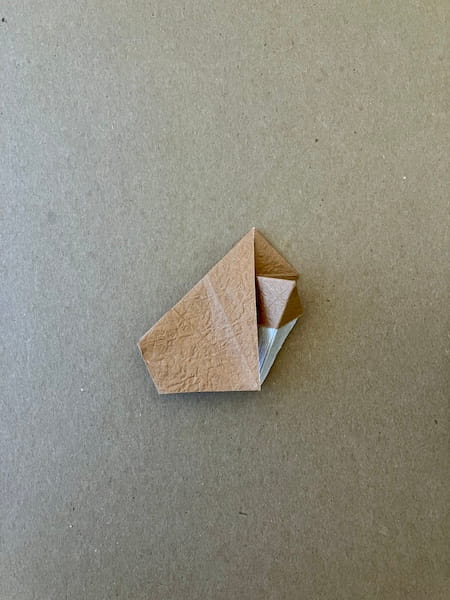
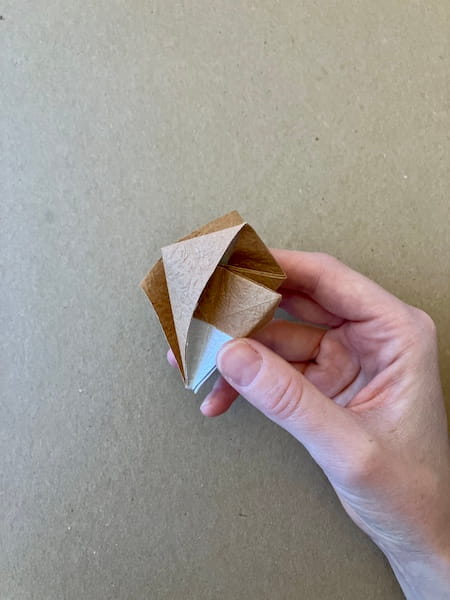
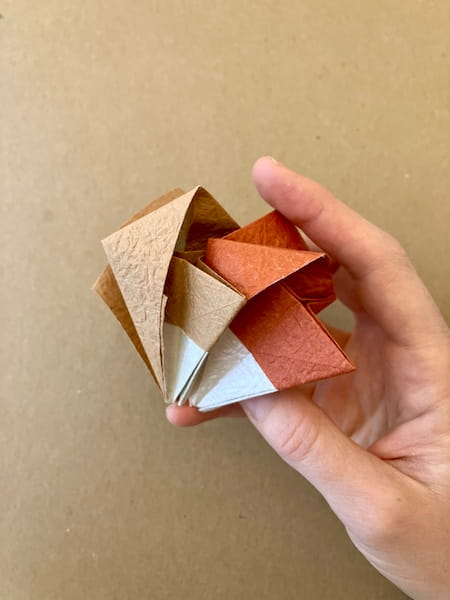
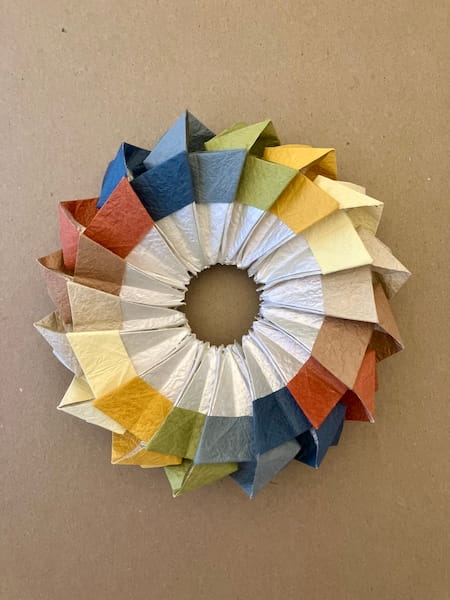
Elle est composée de 16 carrés de papier. Chaque unité s’emboîte avec les unités adjacentes à l’avant et à l’arrière de la rosace, de sorte que l’ensemble de la structure tient ensemble.
Trucs et astuces d’experts
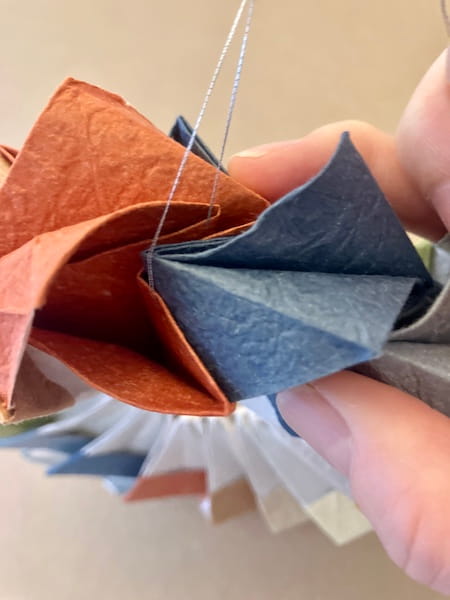
Pour ce projet, j’ai utilisé du papier momi et j’ai peint le verso avec de la peinture acrylique métallique nacrée. En réalité, vous pouvez utiliser n’importe quel papier pour ce projet, mais sachez que le verso sera visible dans la partie intérieure de la rosace. De plus, le papier origami de grammage standard ou le papier métallisé conviennent le mieux pour que le modèle tienne bien ensemble. Un papier plus épais comme le momi n’est en fait pas idéal et peut nécessiter l’utilisation de colle. Enfin, si vous souhaitez réaliser un mobile, vous pouvez assembler ces rosaces en les enfilant, créer votre propre structure ou en acheter une, comme un mobile porte-photos.
Matériel requis rosace modulaire à 16 pointes
• 16 carrés de papier de votre choix (j’ai utilisé du papier momi ; il est préférable d’utiliser du papier origami standard ou du papier métallisé) • peinture acrylique métallique (facultative, pour peindre le verso du papier) • pinceau (facultatif, pour peindre le verso du papier) • aiguille et fil (facultatifs, pour un mobile) • structure de mobile préfabriquée (facultative, par exemple en métal ou faite maison)
Instructions rosace modulaire à 16 pointes
Step 1
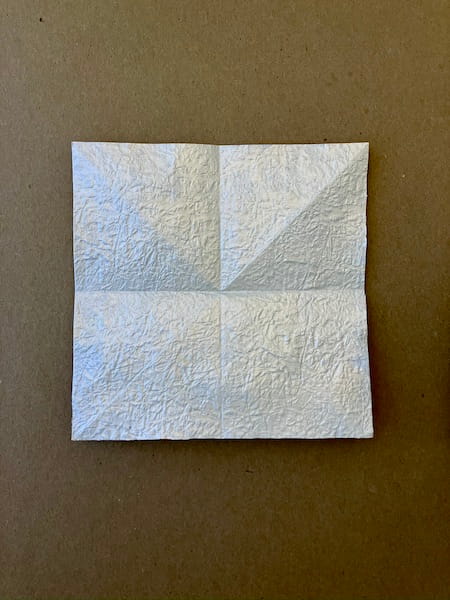
Start with a square of paper, then complete steps 2-5 of the 12 petal kusudama. If you are using paper with one side coloured and one side blank, make sure the coloured side remains on the outside.
Step 2
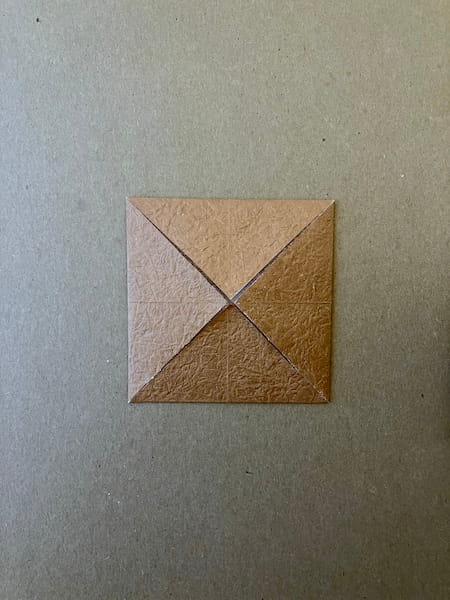
Fold each point of the square into the centre.
Step 3
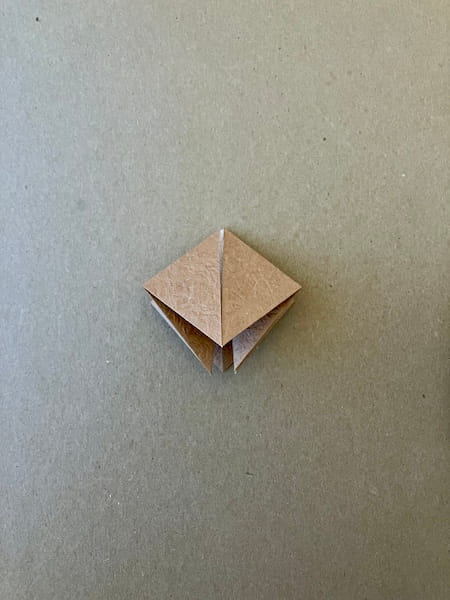
Starting with the model from the previous step flipped over, follow steps 1-16 in the paper crane mural instructions. Treat the model that you flip from the previous step as the square of paper you begin with. You should end up with a square-shaped base, two layers thick.
Step 4
Squash fold each of the four flaps.
Step 5
Rotate the model so the longer edge is facing down, and fold the righthand flap to the left, on both sides of the model.
Step 6
Open the pockets of the top layer of paper and squash fold down, aligning the new top edge with the pleated layers inside. Repeat this on the back of the model.
Step 7
Fold the left top flap to the right, and repeat on the back of the model. Then grasp the two top layers of paper now on the right side, and pull them open to flatten the model.
Step 8
Grasp the righthand top layer of paper and swing the model open again towards the left, folding all layers together along the righthand diagonal line just to the right of the model’s centre.
Step 9
Fold the lefthand side of the upper layer of paper inward to the model’s perpendicular centre line.
Step 10
Fold the righthand side of the flap sticking out to the right backward, along the diagonal edge of the model. Then, open up the lefthand inner layer of paper and tuck the upper left flap from the previous step underneath.
Step 11
Flip the model over so that the right side looks like that in step 7, then repeat steps 8-10 on the back side.
Step 12
Fold a total of 16 units up to step 11. Then, attach two together by folding the righthand flap of the model on the left inside the lefthand pocket of the model on the right. Repeat this interlocking on the back of the two units.
Step 13
Interlock all 16 units, repeating the instructions in step 12. If you have used thick paper, you may need to apply some glue behind the interlocking flaps.
Step 14
If you want to hang this as a mobile, you can use a needle to pierce the interlocking layers and add thread for suspension.